Van aesthetics
Making the van pretty
📝 Ceiling thoughts
22nd December 2020
I've been thinking about the ceiling, after chatting with Naomi at the workshop. I'm not convinced on using vinyl for the whole thing; I think the colours would be too samey and it'd look tacky on that scale. Picking a fabric to cover it would be tricky, and I'm not sure about the attachment options. The insulation is already bubbled, so the shape wouldn't be great, and on the insulation, the spray adhesive seems to lose its stick after a month or two.
So I started kicking round ideas for using wood panels in sections (something Naomi suggested). My current thought is to use thin ply (<= 4mm) and bow it upwards, a touch of the look of a gypsy caravan. This will ensure that the center (where I most commonly walk) is as high as possible, and it prevents sagging which would be a challenge if I used flat panels.
If I were to do this I'd like to find a wood of contrasting colour to the walls - maybe a blonde ply of some sort. Thinner ply is usually pretty cheap so hopefully that would expand my range of options within a reasonable budget.
The two challenges then are to get a good fit-up, and how to mount the wood.
Fit-up
The ideal fit would be for the wood to bend upwards and touch the roof of the van, pushing flat for a section maybe 300mm wide. The aim is to have a tight fit while still being feasible to mount, preferably without removing the wall panels. Additionally, a bit of a flat spot in the middle creates a wider zone with maximum headroom.
Mounting
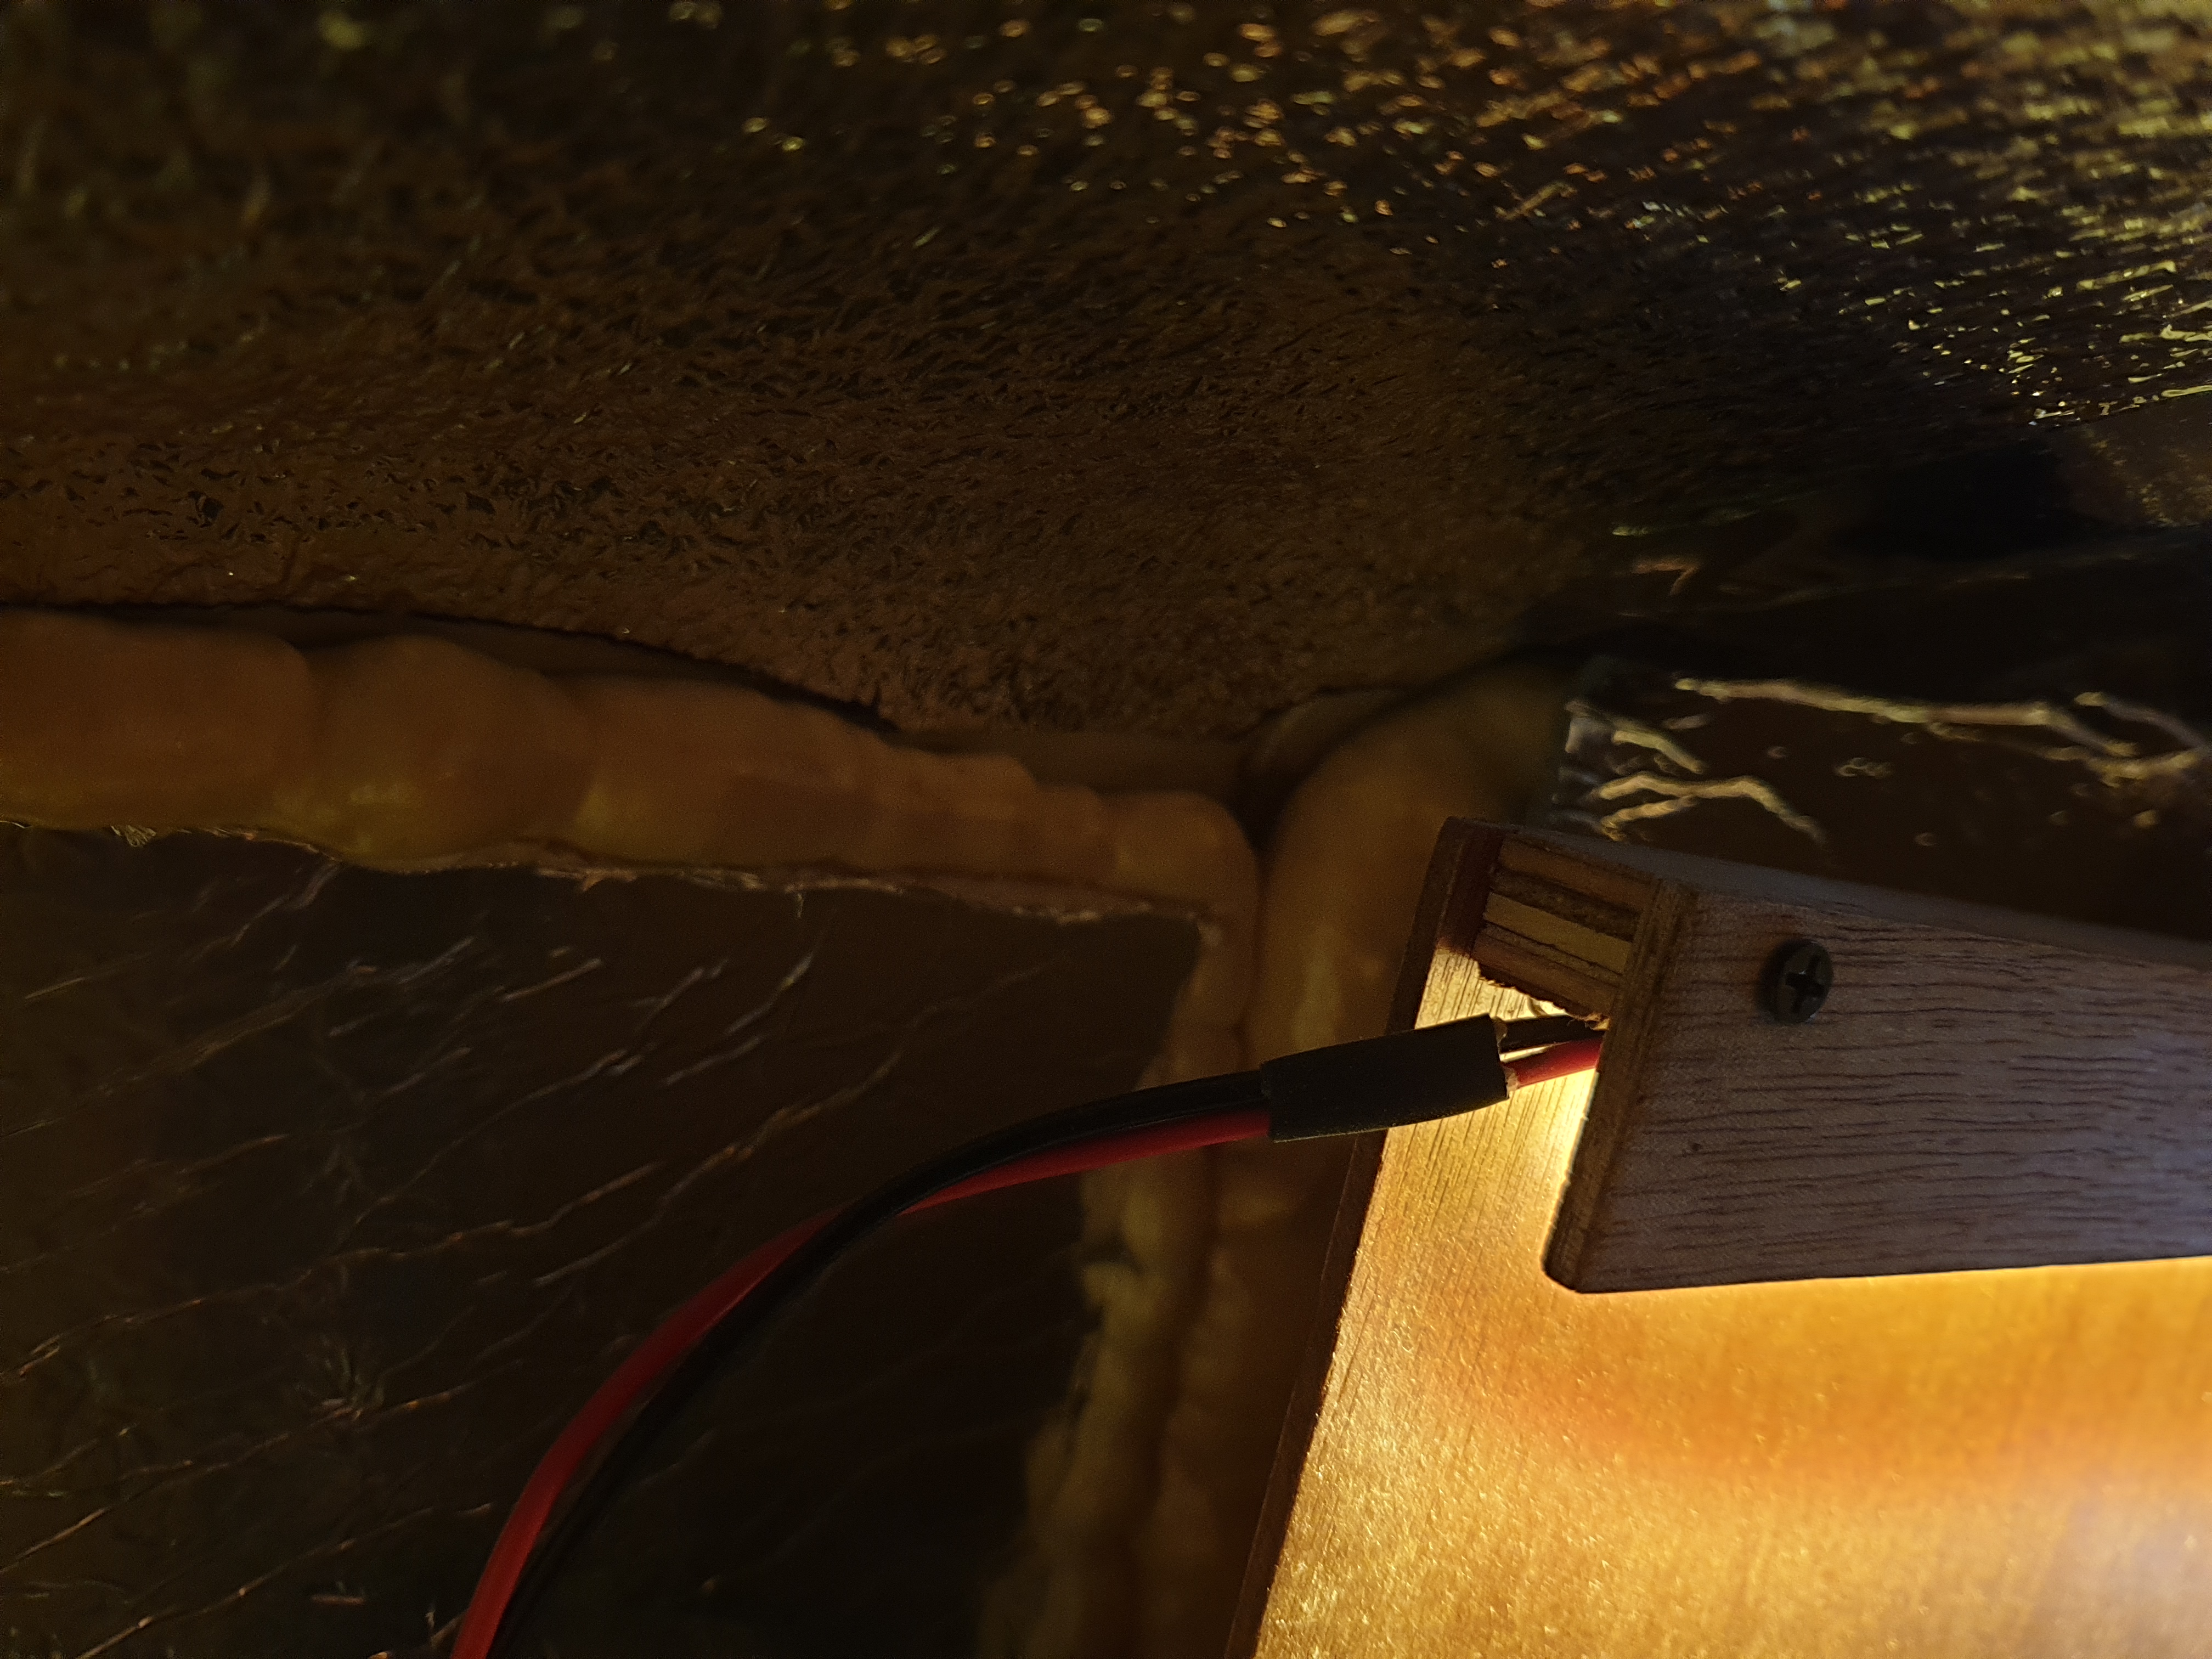
The wood is likely to rest on top of the walls, which sit about 50mm below the roof. Behind them there's insulation on the van walls - a mix of foilboard, expanding foam and reflectix (see pic). I think if I were to put the wood in under compression, it would (with the vibration of the van) wear its way through the insulation pretty quickly. So we could potentially wrap the edges of the ply in something to spread the load and prevent wear. This could be a rubber lip of some sort, or a piece of dowel with a routed slot to accept the ply. But I think it might be an easier solution to insert something hard and flat over the insulation to protect it from the wood - some ply offcuts seem the obvious choice.
Installation
To install the mounting ply, I think we'll need to remove the wall, and also the wardrobe. Although cumbersome, that would give me a chance to add some backing to the top wardrobe pockets - small things fall down the back all the time. Once the mounting ply is installed, I reckon we could install and remove the ceiling by removing only one side of wall, avoiding the need to touch the wardrobe again.
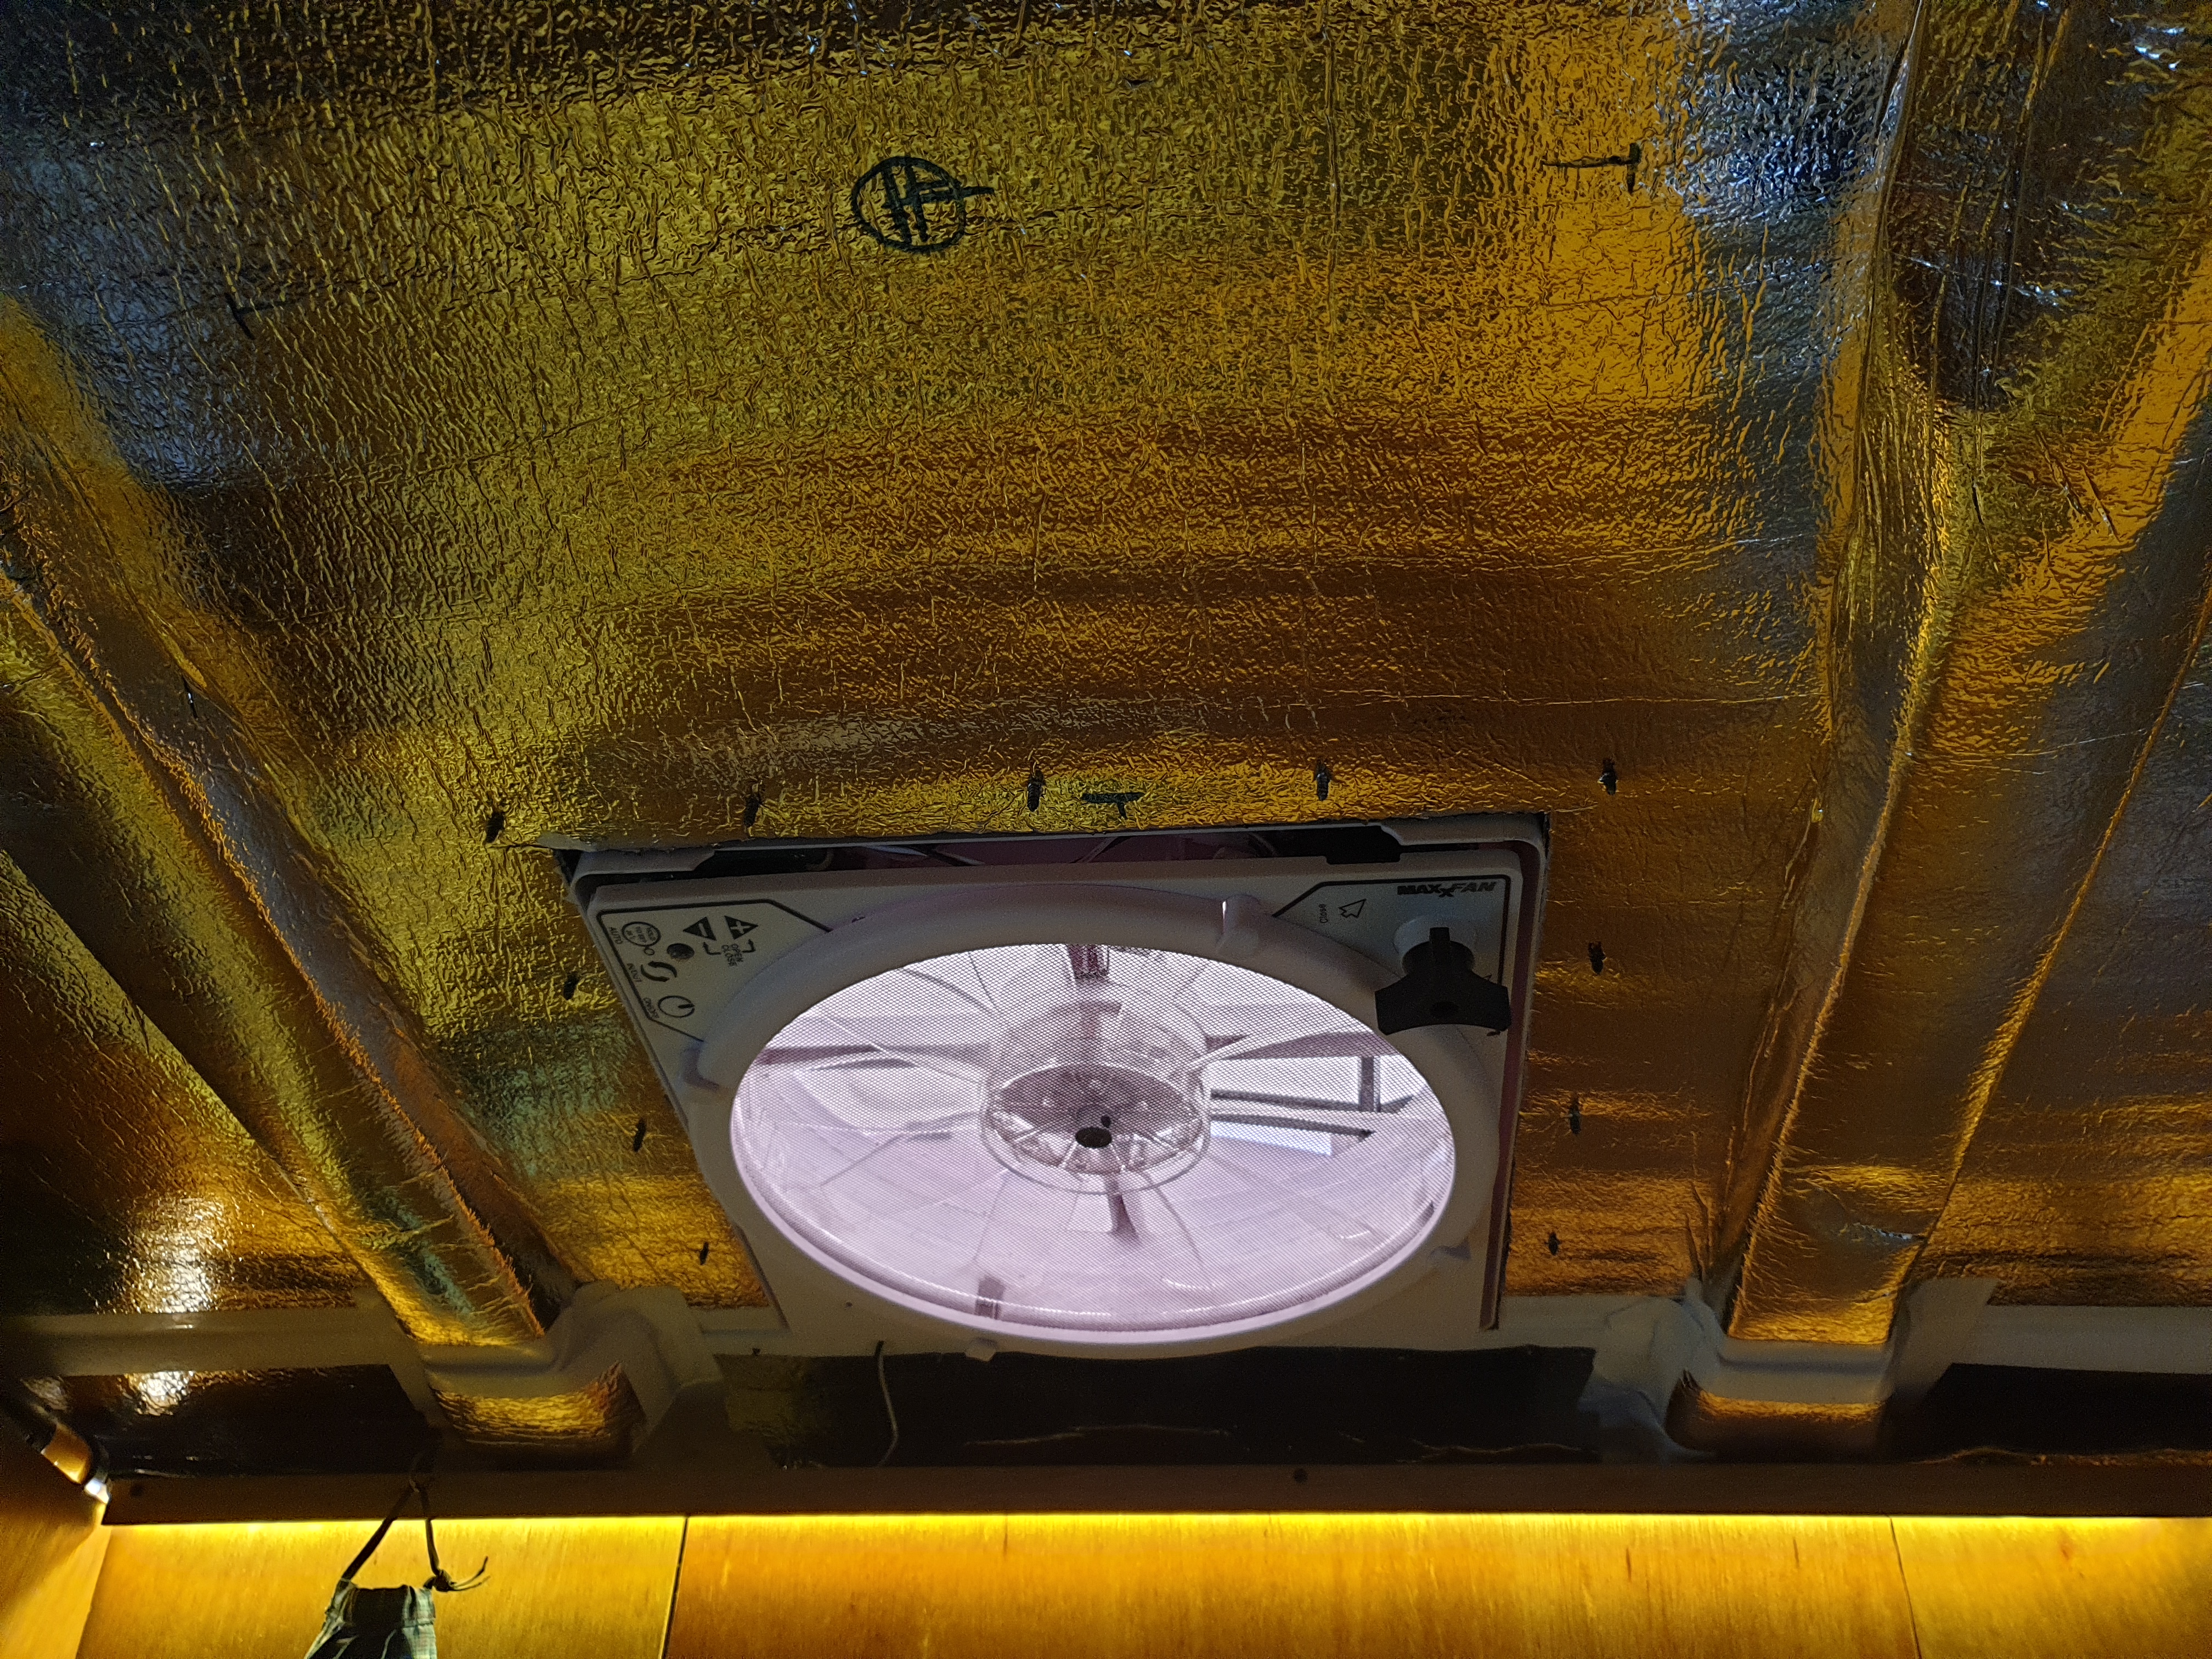
Ceiling fan
The middle segment will need an opening for the ceiling fan (see pic). The fan came with a faceplate that we could use here. It's not ideal because the ceiling would need to be parallel with the roof (in the current design it'd be curved here). But I reckon we could wrestle it into shape (I believe the faceplate screws into the ceiling material, which would help keep its shape). It would probably make sense to use a longer segment of ply here so we get a symmetrical shape.
Now that I think of it, this piece may dictate shape of the rest of the ceiling. To accommodate the fan, it's likely to be quite flat along most of the ceiling. If we don't make the adjoining sheets the same, there'll be an odd-looking gap between the sheets.
Pillars
I plan to cover the roof supports with vinyl - they'll be reasonably hidden so I think this will suffice.